


60USD
Made to order
Delivery time:14-21 days
 Acura
 Alfa Romeo
 Audi
 BMW
 Bentley
 Brilliance
 Bugatti
 Buick
 BYD
 Changan
 Cadillac
 Chery
 Chevrolet
 Chrysler
 Citroen
 Cupra
 DAF
 Dacia
 Daewoo
 Daihatsu
 Dongfeng
 Datsun
 Dodge
 DS Automobiles
 FAW
 Ferrari
 Fiat
 Fisker
 Ford
 GAC Motor (Trumpchi)
 Geely
 Genesis
 Great Wall
 GMC
 Honda
 Hongqi
 Hyundai
 Hummer
 JAC
 Jaguar
 Jeep
 Jetour
 Infiniti
 Isuzu
 Iveco
 KIA
 Lamborghini
 Lada
 Lancia
 LandRover
 Leapmotor
 Lexus
 Li Auto
 Lifan
 Lincoln
 Lotus
 Lucid
 MAN
 Maserati
 Mazda
 McLaren
 MG
 Mercedes-Benz
 Mitsubishi
 Mini
 Nissan
 Opel
 Peugeot
 Polestar
 Porsche
 Rivian
 Renault
 Rolls-Royce
 Saab
 Scania
 Sinotruk
 Seat
 Skoda
 Smart
 SsangYong
 Subaru
 Suzuki
 Tesla
 Toyota
 Volkswagen
 Volvo
 Volga
 Xiaomi
 Xpeng
 Wuling
 ZeekrGAZ
 UAZ


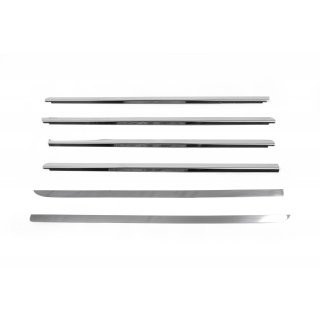


 Clearance Free shipping


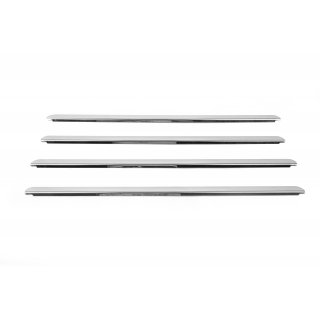
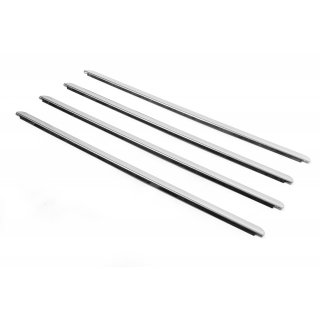


 Clearance Free shipping


Each country has its own DD Tuning store with its own language, currency and delivery terms
Nothing found

We'll let you know as soon as the item becomes available.