Filters
Reset
Your car
Reset
  • Universal Accessories
  • brand iconAcura
  • brand iconAlfa Romeo
  • Avatr
  • brand iconAudi
  • brand iconBMW
  • brand iconBentley
  • brand iconBrilliance
  • brand iconBugatti
  • brand iconBuick
  • brand iconBYD
  • brand iconChangan
  • brand iconCadillac
  • brand iconChery
  • brand iconChevrolet
  • brand iconChrysler
  • brand iconCitroen
  • Cowin
  • brand iconCupra
  • brand iconDAF
  • brand iconDacia
  • brand iconDaewoo
  • brand iconDaihatsu
  • Denza
  • brand iconDongfeng
  • brand iconDatsun
  • brand iconDodge
  • brand iconDS Automobiles
  • brand iconFAW
  • brand iconFerrari
  • brand iconFiat
  • brand iconFisker
  • brand iconFord
  • brand iconGAC Motor (Trumpchi)
  • brand iconGeely
  • brand iconGenesis
  • brand iconGreat Wall
  • brand iconGMC
  • brand iconHonda
  • brand iconHongqi
  • brand iconHyundai
  • brand iconHummer
  • brand iconJAC
  • brand iconJaguar
  • brand iconJeep
  • brand iconJetour
  • brand iconInfiniti
  • brand iconIsuzu
  • brand iconIveco
  • brand iconKIA
  • brand iconLamborghini
  • brand iconLada
  • brand iconLancia
  • brand iconLandRover
  • brand iconLeapmotor
  • Leopaard
  • brand iconLexus
  • brand iconLi Auto
  • brand iconLifan
  • brand iconLincoln
  • brand iconLotus
  • brand iconLucid
  • brand iconMAN
  • brand iconMaserati
  • brand iconMazda
  • brand iconMcLaren
  • brand iconMG
  • brand iconMercedes-Benz
  • brand iconMitsubishi
  • brand iconMini
  • Moskvich
  • brand iconNissan
  • brand iconOpel
  • brand iconPeugeot
  • brand iconPolestar
  • brand iconPorsche
  • brand iconRivian
  • RAVON
  • brand iconRenault
  • brand iconRolls-Royce
  • brand iconSaab
  • brand iconScania
  • brand iconSinotruk
  • brand iconSeat
  • brand iconSkoda
  • Skywell
  • brand iconSmart
  • brand iconSsangYong
  • StreetScooter
  • brand iconSubaru
  • brand iconSuzuki
  • brand iconTesla
  • brand iconToyota
  • brand iconVolkswagen
  • brand iconVolvo
  • brand iconVolga
  • brand iconXiaomi
  • brand iconXpeng
  • brand iconWuling
  • brand iconZeekr
  • brand iconGAZ
  • brand iconUAZ
Category
Show products

Frequently asked questions

A diffuser is the lower part of the bumper; it shapes the rear end and often frames the exhaust. A protective trim piece is mounted on top, in the loading area, and protects the paint from scratches. These parts are not interchangeable.
Check the model, body type, and years against the product name, then the bumper version: M-Sport, AMG-Line, S-Line, or base. A part made for an original bumper will not necessarily fit a replica, so if in doubt, send the rear photo to our manager.
For diffusers “with tips” — yes, this is shown in the “Included” field. For the rest, tips are bought separately in the exhaust tip section. Decorative pipes are not connected to the exhaust.
Parts marked “for painting” and fiberglass trims are painted after test fitting. Diffusers in gloss black or made of natural carbon are installed without painting.
It depends on the product: into factory mounting points, with double-sided adhesive, or with glass adhesive sealant. The method is specified in the “Installation type” field in the product specifications.
Not guaranteed. Measure the width and curve of the lower part of the bumper, compare it with the dimensions in the product card, and test fit the part before installation — sometimes adjustment is needed.
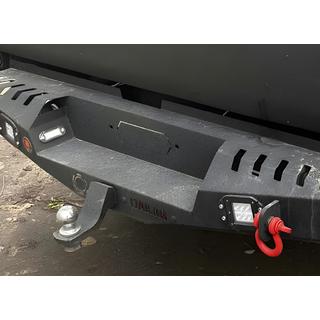
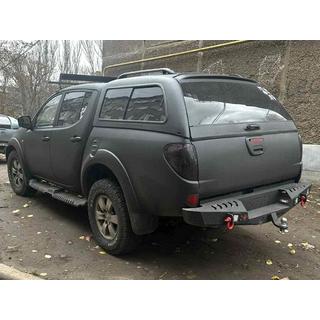
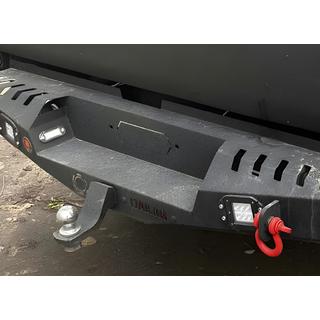
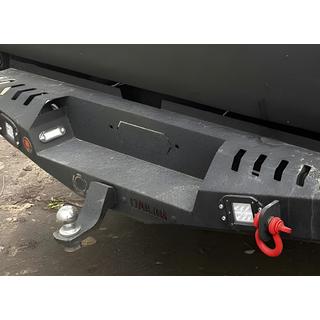
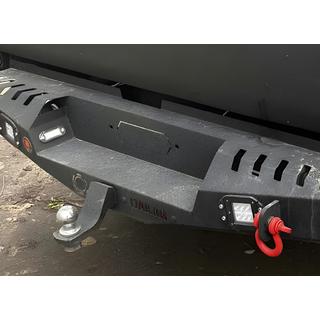
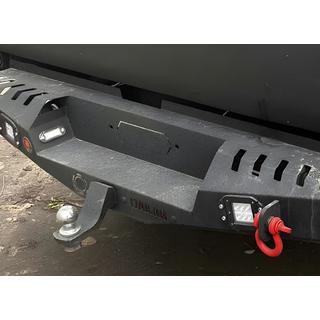
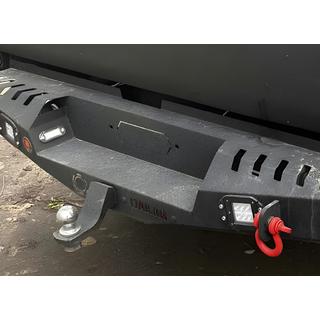
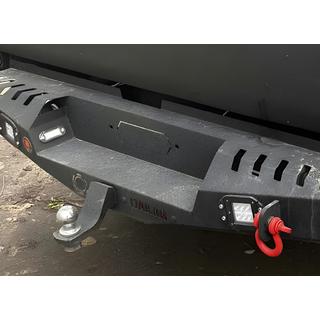
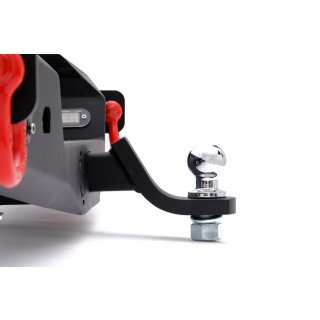
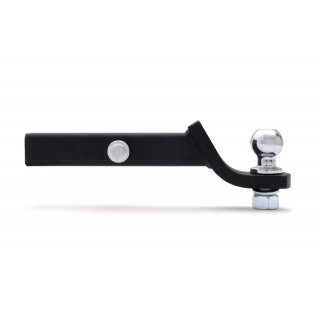
Yes, the section includes tow hitches for the Dakar bumper from Omsa Line — including for Mitsubishi L200 2006–2015, Nissan Navara 2015, and Toyota Hilux 2006–2015. Choose the one made for your pickup and model years.

How it works

  1. Match the part to the car Check that the model, body, year, and bumper version in the product name match your car, and that the trim corresponds to the field “Trim” in the product card.
  2. Dry-fit the part Place the diffuser against the bumper without glue or fasteners: check the fit, symmetry, gaps, and position relative to the exhaust, sensors, and tow hitch. Paint the part only after fitting if it is meant for painting.
  3. Prepare the surface Wash and dry the installation area, remove dirt and wax, and degrease the surface. If required by the glue or tape, apply primer.
  4. Secure the part Fasten it as specified by the manufacturer and indicated in the field “Installation type”: in the factory mounting points, with self-adhesive tape, or with glass adhesive sealant. Press the part firmly across the entire contact area.
  5. Let the fastening set If glue or tape was used, wait for the time specified by the adhesive manufacturer before washing the car or putting any load on the part.
  6. Check the result Inspect the gaps and make sure the diffuser does not touch the exhaust pipes and does not block the parking sensors, camera, or reflectors.

Pros and cons