Filters
Reset
Your car
Reset
  • Universal Accessories
  • brand iconAcura
  • brand iconAlfa Romeo
  • Avatr
  • brand iconAudi
  • brand iconBMW
  • brand iconBentley
  • brand iconBrilliance
  • brand iconBugatti
  • brand iconBuick
  • brand iconBYD
  • brand iconChangan
  • brand iconCadillac
  • brand iconChery
  • brand iconChevrolet
  • brand iconChrysler
  • brand iconCitroen
  • Cowin
  • brand iconCupra
  • brand iconDAF
  • brand iconDacia
  • brand iconDaewoo
  • brand iconDaihatsu
  • Denza
  • brand iconDongfeng
  • brand iconDatsun
  • brand iconDodge
  • brand iconDS Automobiles
  • brand iconFAW
  • brand iconFerrari
  • brand iconFiat
  • brand iconFisker
  • brand iconFord
  • brand iconGAC Motor (Trumpchi)
  • brand iconGeely
  • brand iconGenesis
  • brand iconGreat Wall
  • brand iconGMC
  • brand iconHonda
  • brand iconHongqi
  • brand iconHyundai
  • brand iconHummer
  • brand iconJAC
  • brand iconJaguar
  • brand iconJeep
  • brand iconJetour
  • brand iconInfiniti
  • brand iconIsuzu
  • brand iconIveco
  • brand iconKIA
  • brand iconLamborghini
  • brand iconLada
  • brand iconLancia
  • brand iconLandRover
  • brand iconLeapmotor
  • Leopaard
  • brand iconLexus
  • brand iconLi Auto
  • brand iconLifan
  • brand iconLincoln
  • brand iconLotus
  • brand iconLucid
  • brand iconMAN
  • brand iconMaserati
  • brand iconMazda
  • brand iconMcLaren
  • brand iconMG
  • brand iconMercedes-Benz
  • brand iconMitsubishi
  • brand iconMini
  • Moskvich
  • brand iconNissan
  • brand iconOpel
  • brand iconPeugeot
  • brand iconPolestar
  • brand iconPorsche
  • brand iconRivian
  • RAVON
  • brand iconRenault
  • brand iconRolls-Royce
  • brand iconSaab
  • brand iconScania
  • brand iconSinotruk
  • brand iconSeat
  • brand iconSkoda
  • Skywell
  • brand iconSmart
  • brand iconSsangYong
  • StreetScooter
  • brand iconSubaru
  • brand iconSuzuki
  • brand iconTesla
  • brand iconToyota
  • brand iconVolkswagen
  • brand iconVolvo
  • brand iconVolga
  • brand iconXiaomi
  • brand iconXpeng
  • brand iconWuling
  • brand iconZeekr
  • brand iconGAZ
  • brand iconUAZ
Category
Show products
Price USD
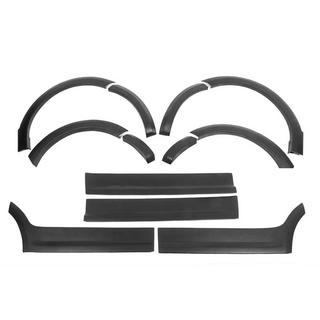
Set of fender flares and moldings (11 pieces) Volkswagen T5 Caravelle 2004-2010 photo 1Set of fender flares and moldings (11 pieces) Volkswagen T5 Caravelle 2004-2010 photo 2Set of fender flares and moldings (11 pieces) Volkswagen T5 Caravelle 2004-2010 photo 3Set of fender flares and moldings (11 pieces) Volkswagen T5 Caravelle 2004-2010 photo 4
From303USD
Set of fender flares and moldings (11 pieces) Volkswagen T5 Multivan 2003–2010 photo 1Set of fender flares and moldings (11 pieces) Volkswagen T5 Multivan 2003–2010 photo 2Set of fender flares and moldings (11 pieces) Volkswagen T5 Multivan 2003–2010 photo 3Set of fender flares and moldings (11 pieces) Volkswagen T5 Multivan 2003–2010 photo 4
From303USD
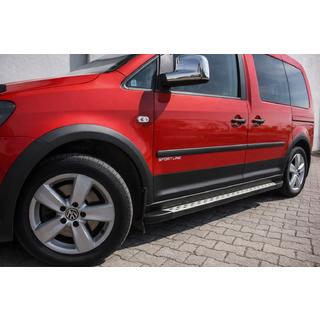
Set of moldings and fender flares Volkswagen Caddy 2004-2010 photo 1Set of moldings and fender flares Volkswagen Caddy 2004-2010 photo 2Set of moldings and fender flares Volkswagen Caddy 2004-2010 photo 3Set of moldings and fender flares Volkswagen Caddy 2004-2010 photo 4
From238USD
Set of moldings and fender flares Volkswagen Caddy 2010-2015 photo 1Set of moldings and fender flares Volkswagen Caddy 2010-2015 photo 2Set of moldings and fender flares Volkswagen Caddy 2010-2015 photo 3Set of moldings and fender flares Volkswagen Caddy 2010-2015 photo 4
From238USD
Set of fender flares and moldings (11 pieces) Volkswagen T5 Transporter 2003-2010 photo 1Set of fender flares and moldings (11 pieces) Volkswagen T5 Transporter 2003-2010 photo 2Set of fender flares and moldings (11 pieces) Volkswagen T5 Transporter 2003-2010 photo 3Set of fender flares and moldings (11 pieces) Volkswagen T5 Transporter 2003-2010 photo 4
From303USD
Set of moldings and fender flares Volkswagen Caddy 2020-
From242USD
Set of moldings and fender flares Ford Connect 2021-
From242USD

Frequently asked questions

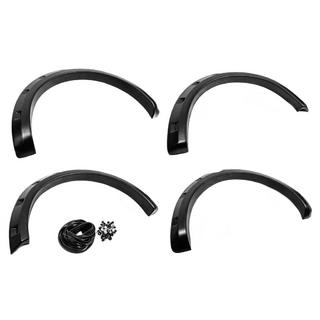
A trim is a narrow decorative strip made of stainless steel or ABS along the edge of the arch that does not change the body width. An extension is much wider, protrudes over the wheel, and covers the tire that extends beyond the fender. The product title always makes it clear what it is: “wheel arch trims” or “wheel arch extensions.”
Universal HongHang and DPT sets are chosen by measurements, not by brand: compare the segment length and width from the product card with your own arch. For some body types, the part may need trimming or bending. If there is a model-specific set for your vehicle, it is better to choose that one.
Not in the kits in this section: they are mounted with double-sided tape (“Self-adhesive”), glass adhesive sealant, or in the factory mounting points of the body. The installation method for a specific product is indicated in the product card in the “Installation type” field.
Not always — where the arches differ, the kits are divided by years (for example, Mitsubishi ASX 2010–2012 and 2012–2016) or by wheelbase (Ford Transit, short wheelbase). There are also shared kits: wheel arch trims for Volkswagen T4 1990–2003 fit both the short and long front section. Refer to the years and the уточнення in the title.
No, it is polished stainless steel with a mirror shine; there is no separate chrome coating on it, so nothing can peel off. Black versions are made of ABS plastic — the material of each item is listed in the product card specifications.
Trims on double-sided tape are removed by heating the tape with a hairdryer; a new tape is needed for reinstallation. Parts fixed with adhesive sealant hold more firmly, but they are harder to remove and may leave marks on the paint.

How it works

  1. Fit the trims without adhesive Place each part against its wheel arch: check the contour, the gaps near the bumper and sill, and identify the front, rear, left, and right. Mark the position with masking tape.
  2. Prepare the surface Wash and dry the edge of the arch, remove any traces of polish, wax, and old adhesive, and degrease with a paint-safe cleaner. If there is rust on the edge, treat it before installation: the trim will not stop it.
  3. Work in dry warmth Apply in a dry room at a positive temperature. In cooler conditions, gently warm the tape on the trim or the edge of the arch with a hair dryer — this helps the adhesive layer bond better.
  4. Apply the fastening For self-adhesive trims, peel off the protective film gradually, starting from one edge. For parts that use glass adhesive sealant, apply a continuous bead of adhesive to the inner side of the trim — adhesive is not included.
  5. Press and secure Press the trim along its full length, especially at the edges and in curved areas. Secure parts fixed with adhesive sealant with masking tape so they do not shift until the adhesive sets.
  6. Allow curing and check Do not wash the car or remove the фиксацію until the adhesive has fully set according to the manufacturer's instructions. Then check that the edges fit without gaps, and press them again if necessary.