Filters
Reset
Your car
Reset
  • Universal Accessories
  • brand iconAcura
  • brand iconAlfa Romeo
  • Avatr
  • brand iconAudi
  • brand iconBMW
  • brand iconBentley
  • brand iconBrilliance
  • brand iconBugatti
  • brand iconBuick
  • brand iconBYD
  • brand iconChangan
  • brand iconCadillac
  • brand iconChery
  • brand iconChevrolet
  • brand iconChrysler
  • brand iconCitroen
  • Cowin
  • brand iconCupra
  • brand iconDAF
  • brand iconDacia
  • brand iconDaewoo
  • brand iconDaihatsu
  • Denza
  • brand iconDongfeng
  • brand iconDatsun
  • brand iconDodge
  • brand iconDS Automobiles
  • brand iconFAW
  • brand iconFerrari
  • brand iconFiat
  • brand iconFisker
  • brand iconFord
  • brand iconGAC Motor (Trumpchi)
  • brand iconGeely
  • brand iconGenesis
  • brand iconGreat Wall
  • brand iconGMC
  • brand iconHonda
  • brand iconHongqi
  • brand iconHyundai
  • brand iconHummer
  • brand iconJAC
  • brand iconJaguar
  • brand iconJeep
  • brand iconJetour
  • brand iconInfiniti
  • brand iconIsuzu
  • brand iconIveco
  • brand iconKIA
  • brand iconLamborghini
  • brand iconLada
  • brand iconLancia
  • brand iconLandRover
  • brand iconLeapmotor
  • Leopaard
  • brand iconLexus
  • brand iconLi Auto
  • brand iconLifan
  • brand iconLincoln
  • brand iconLotus
  • brand iconLucid
  • brand iconMAN
  • brand iconMaserati
  • brand iconMazda
  • brand iconMcLaren
  • brand iconMG
  • brand iconMercedes-Benz
  • brand iconMitsubishi
  • brand iconMini
  • Moskvich
  • brand iconNissan
  • brand iconOpel
  • brand iconPeugeot
  • brand iconPolestar
  • brand iconPorsche
  • brand iconRivian
  • RAVON
  • brand iconRenault
  • brand iconRolls-Royce
  • brand iconSaab
  • brand iconScania
  • brand iconSinotruk
  • brand iconSeat
  • brand iconSkoda
  • Skywell
  • brand iconSmart
  • brand iconSsangYong
  • StreetScooter
  • brand iconSubaru
  • brand iconSuzuki
  • brand iconTesla
  • brand iconToyota
  • brand iconVolkswagen
  • brand iconVolvo
  • brand iconVolga
  • brand iconXiaomi
  • brand iconXpeng
  • brand iconWuling
  • brand iconZeekr
  • brand iconGAZ
  • brand iconUAZ
Category
Show products
Price USD

Frequently asked questions

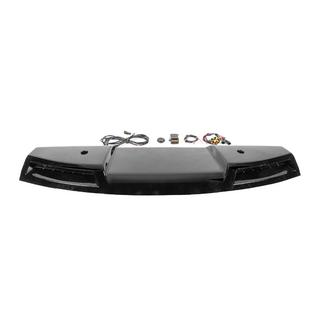
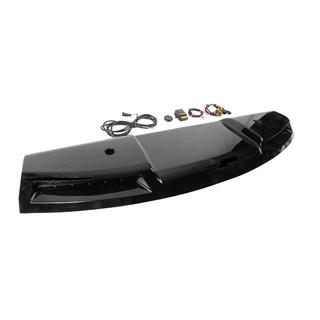
For a visor on a metal frame — yes: the frame is attached to the cab pillars with self-tapping screws, and holes are drilled for them. Fiberglass visors for painting are usually glued on with automotive glass adhesive-sealant without drilling.
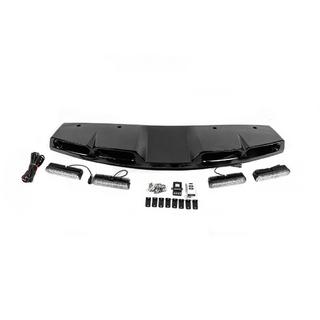
The visor, metal frame, and mounting kit — everything needed for installation. The visor and mounting hardware are sold only as a complete set. For fiberglass visors, the adhesive-sealant is not included in the kit.
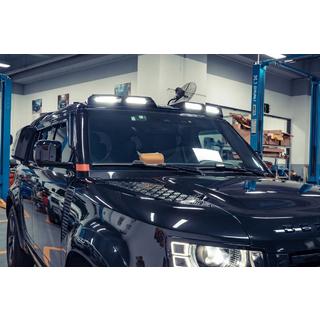
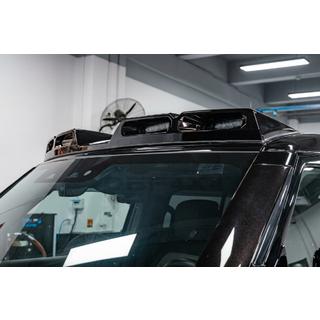
Paintable versions are installed with adhesive. Frame-mounted visors with mechanical fastening are plastic products in a ready-made color: glossy black, white, or semi-transparent black.
No, the glossy black visor is opaque. For Sprinter W906, W907/W910, Crafter 2006–2016, and Transit 2000–2014, there is a separate semi-transparent glossy black version.
The visor is selected according to the base vehicle and body years, for example Ducato 2006–2025. Due to the changed camper configuration, small modifications may be needed, and if there is an over-cab alcove, please check the fit with a manager.
There is no separate paper manual. There is an installation video on the product page, and the installation of the frame-mounted visor itself is simple: the frame to the pillars, the visor to the frame.

How it works

  1. Check compatibility and the kit contents Match the model and body years in the product name with your vehicle, unpack the visor, metal frame and mounting hardware, remove the protective transport film, and inspect the product.
  2. Test fit the frame Place the frame against the pillars above the windshield, center it on the roof, and mark the hole locations. Do not drill without test fitting.
  3. Drill the holes Drill the pillars at the marked points, remove the shavings, and treat the edges of the holes with an anti-corrosion agent.
  4. Secure the frame Fasten the frame with the mounting hardware from the installation kit, applying sealant or sealing tape underneath it so water does not get into the holes.
  5. Install the visor on the frame Attach the visor to the frame with the self-tapping screws from the kit, align it relative to the windshield and roof, and tighten the hardware evenly.
  6. Check after the first trips After a few trips, check the tightness of the fasteners, then inspect them every 6–12 months.