

















Your car
Reset
  • Universal Accessories
  • brand iconAcura
  • brand iconAlfa Romeo
  • Avatr
  • brand iconAudi
  • brand iconBMW
  • brand iconBentley
  • brand iconBrilliance
  • brand iconBugatti
  • brand iconBuick
  • brand iconBYD
  • brand iconChangan
  • brand iconCadillac
  • brand iconChery
  • brand iconChevrolet
  • brand iconChrysler
  • brand iconCitroen
  • Cowin
  • brand iconCupra
  • brand iconDAF
  • brand iconDacia
  • brand iconDaewoo
  • brand iconDaihatsu
  • Denza
  • brand iconDongfeng
  • brand iconDatsun
  • brand iconDodge
  • brand iconDS Automobiles
  • brand iconFAW
  • brand iconFerrari
  • brand iconFiat
  • brand iconFisker
  • brand iconFord
  • brand iconGAC Motor (Trumpchi)
  • brand iconGeely
  • brand iconGenesis
  • brand iconGreat Wall
  • brand iconGMC
  • brand iconHonda
  • brand iconHongqi
  • brand iconHyundai
  • brand iconHummer
  • brand iconJAC
  • brand iconJaguar
  • brand iconJeep
  • brand iconJetour
  • brand iconInfiniti
  • brand iconIsuzu
  • brand iconIveco
  • brand iconKIA
  • brand iconLamborghini
  • brand iconLada
  • brand iconLancia
  • brand iconLandRover
  • brand iconLeapmotor
  • Leopaard
  • brand iconLexus
  • brand iconLi Auto
  • brand iconLifan
  • brand iconLincoln
  • brand iconLotus
  • brand iconLucid
  • brand iconMAN
  • brand iconMaserati
  • brand iconMazda
  • brand iconMcLaren
  • brand iconMG
  • brand iconMercedes-Benz
  • brand iconMitsubishi
  • brand iconMini
  • Moskvich
  • brand iconNissan
  • brand iconOpel
  • brand iconPeugeot
  • brand iconPolestar
  • brand iconPorsche
  • brand iconRivian
  • RAVON
  • brand iconRenault
  • brand iconRolls-Royce
  • brand iconSaab
  • brand iconScania
  • brand iconSinotruk
  • brand iconSeat
  • brand iconSkoda
  • Skywell
  • brand iconSmart
  • brand iconSsangYong
  • StreetScooter
  • brand iconSubaru
  • brand iconSuzuki
  • brand iconTesla
  • brand iconToyota
  • brand iconVolkswagen
  • brand iconVolvo
  • brand iconVolga
  • brand iconXiaomi
  • brand iconXpeng
  • brand iconWuling
  • brand iconZeekr
  • brand iconGAZ
  • brand iconUAZ
Category
Show products

How to install window vents

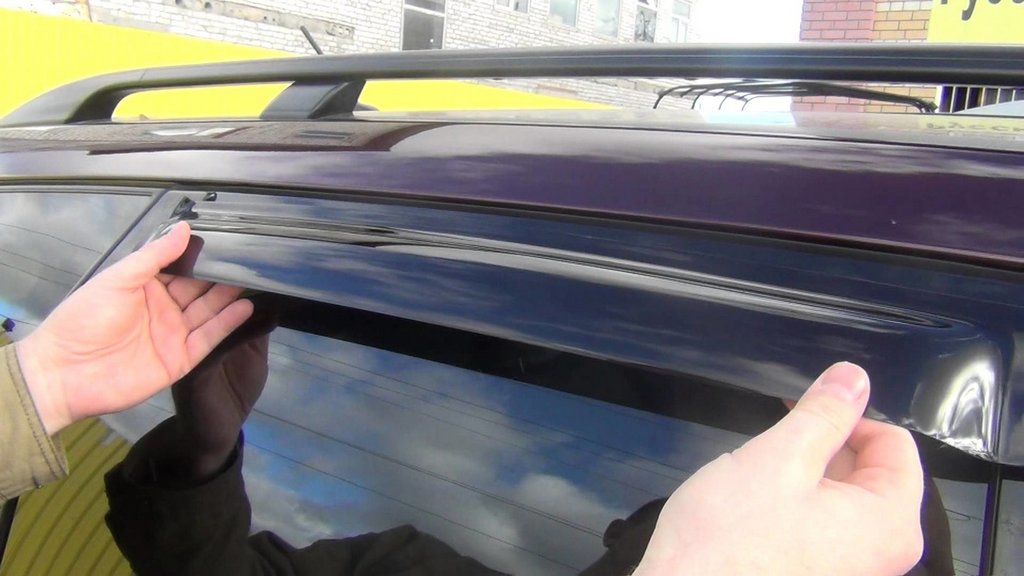
How to install window vents Photo 1

Reading an article with recommendations on how to install wind deflectors will probably take longer than the process of installing these devices itself. This is of course a joke, but in every joke, as you know, there is some truth. Indeed, there is nothing simpler than this uncomplicated work. Modern side window deflectors are designed to be attached to the vehicle door with double-sided adhesive tape. And the principles of its application are the same for all tuning elements.

Nevertheless, there is a category of motorists for whom any technical intervention in car maintenance causes panic and fear of doing something wrong. Yes, and it would be appropriate for novice drivers to know the basic rules for handling these devices and materials. There is another category of car owners who, without reading the instructions and not really going into the details of the upcoming operation, hastily sculpt windshields, and then are surprised that something went wrong. In general, we hope that our efforts will not be in vain and this information will help someone avoid typical mistakes.

Well, since we have already touched on adhesive tape, we will immediately clarify that only the best samples of it must be used to install window deflectors. Therefore, if the manufacturer saved on adhesive tape in the purchased kit, then it is better not to regret small additional waste and buy high-quality connecting material. Otherwise, you will have to look for protective devices on the roadsides and in nearby landings for a long time.

Before sticking the adhesive tape on the surface of the door, it is thoroughly cleaned. First, dust and dirt are removed with a damp cloth, and then degreased with special wipes (if this is not done, see the result described in the previous paragraph). As a final treatment, the contact point is wiped with a clean, dry cloth. Now everything is ready for the main operation.

Using a marker, mark the segment on the door section corresponding to the best position of the visor. Gradually unwinding and removing the protective film, a piece of adhesive tape of the required length is applied, after which its outer protective layer is peeled off. Then, carefully trying on the position of the deflector, slowly press its edge against the adhesive surface of the tape. At first, this is done without effort in order to assess the correct installation and painlessly disconnect the part until it “grabs”. Otherwise, dismantling may lead to damage to the paintwork.

If the result was achieved the first time or after adjusting the position of the side window deflector, it is firmly pressed against the contact area and held in this position for 1-2 minutes. Ideally, you can use a regular hair dryer, then the mount will be really strong, and the risk of losing the windshield is minimal.

As you can see, everything is very easy and even primitive. So do not be lazy, but armed with the information received, proceed to this simple process. And let this be the first step in mastering your car, after which interest in the technical side of the issue of its operation will awaken. Well, if, after reading this material, you still haven’t increased your self-confidence, invite your friend or neighbor and, under a barbecue and a conversation, overcome this barrier with joint efforts. In the case when there was too much barbecue, and in the morning you saw the results of your “creativity”, there will always be someone to blame for this unfortunate mistake).

In the meantime, while you were reading this article, someone has already pasted windshields on their car ...)

This material was prepared using AI tools for topic research, structuring and initial draft creation. Fact-checking, editing, expert review and final approval were performed by Maksym Vasyliovych Radomskyi.

Related article and news about tuning and cars

Kia Picanto X-Line hatchback in the image crossover
This review presents a model of five-door hatchback Kia Picanto X-Line, which made its debut in 2017. The article has information about the exterior of the car, interior, technical details,...
05.04.2018
7961
Review of the MINI Clubman is the second generation
This review presents a model of a MINI Clubman station wagon the second generation, which was presented in 2015. The article presents information on the technical characteristics of the car,...
27.02.2018
3649
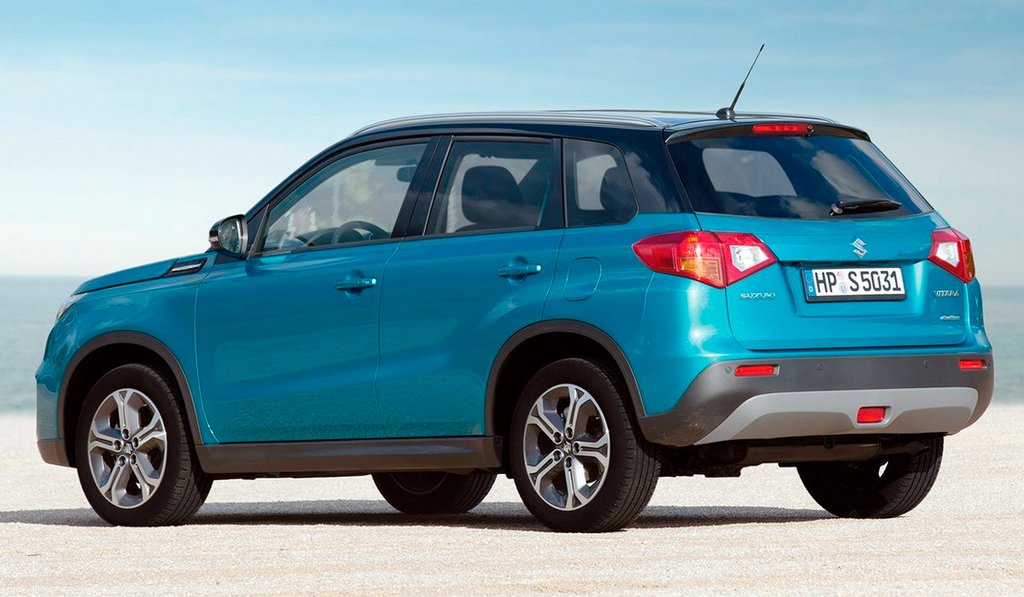
Overview of the crossover Suzuki Vitara
In this review, a description of the popular Japanese crossover Suzuki Vitara. In the article you can find information about the external dimensions of the car, basic configuration, technica...
10.04.2018
5589
The rear of the SUV Subaru Ascent
In this review a model is proposed flagship SUV Subaru Ascent, which was first introduced in 2017. From the article you can learn about the size of the car, technical parameters, standard, a...
07.03.2018
12409
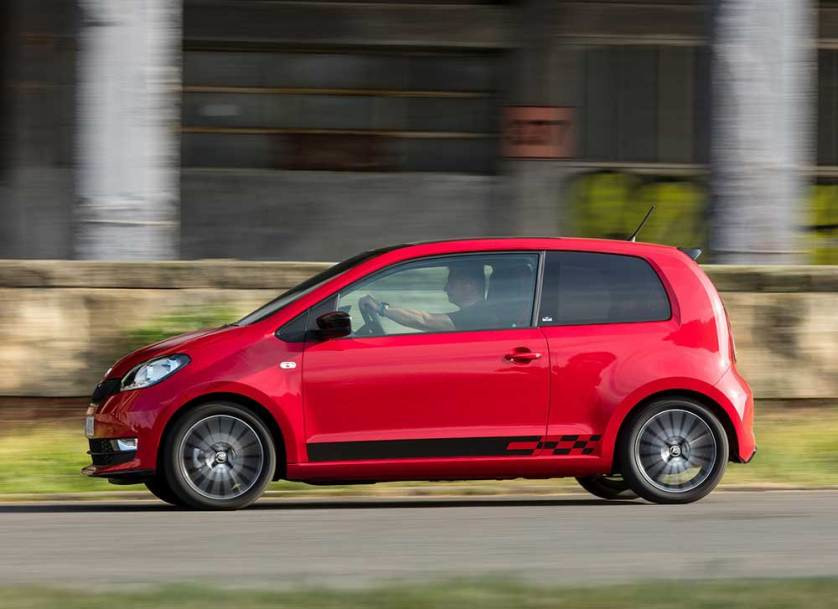
Overview of the compact hatchback Skoda Citigo
In this review, it is proposed to consider the updated model of compact urban hatchback Skoda Citigo. In the article you can see the appearance of the car, interior design, technical charact...
31.03.2018
5023
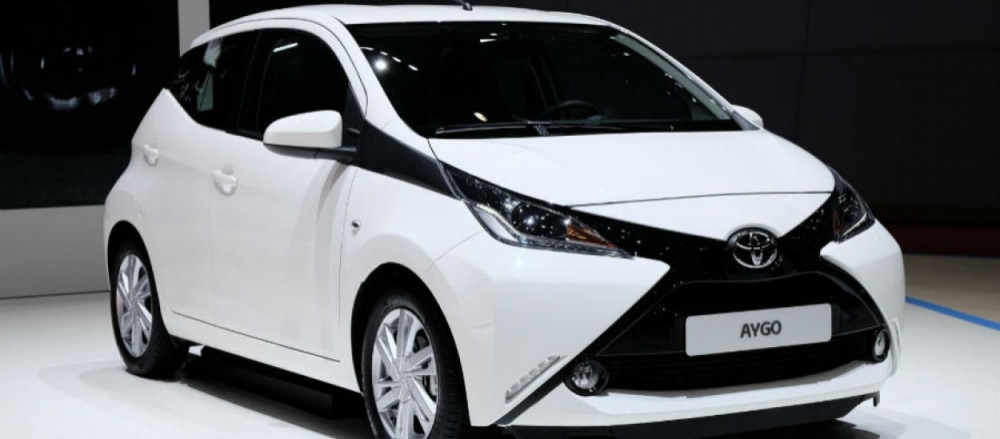
Overview of the Toyota Aygo hatchback of the second generation
This article describes a model of urban compact hatchback Toyota Aygo, which has been upgraded in 2014. The review provides information about the external dimensions of the machine, its conf...
22.03.2018
7092
Review Citroen Berlingo Multispace 2018 model year
The article provides an overview of the utility model compact MPV citroën Berlingo Multispace third generation, which was released in early 2018. There are data on the external dimensions of...
16.03.2018
5589